If you're not sure which replacement filter to buy for your drinking water system, our chart below will help! Click on the filter replacement for more details and purchasing information.
Filter Information
- Purchasing information can be found on whirlpoolwatersolutions.com, or by clicking on the filter model below.
- For instructions on replacing the filters, you can review your Owner's manual or click here.
| System: | Filter Replacement | Filter Life: |
|
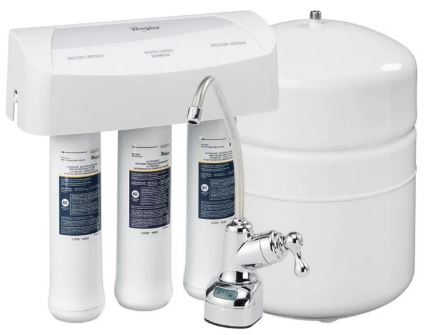
WHER25 / WHAROS5 / WHAPSRO |
Pre/Post Filter - WHEERF Membrane - WHEERM |
Pre/Post filter - 6 months Membrane - 2 to 3 years |
|
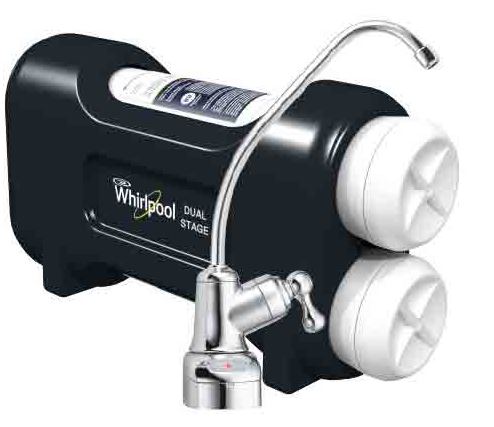
WHED20 / WHADUS5 |
WHEEDF | 6 months |
|
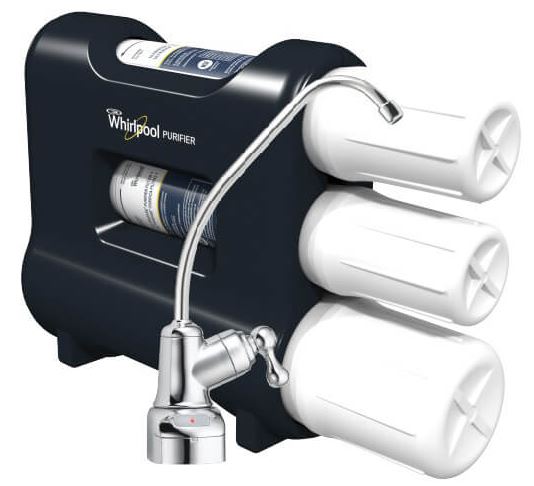
WHEMB40 / WHAMBS5 |
WHEMBF | 6 months |
|
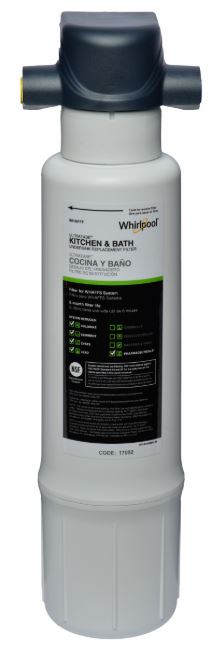
WHAFFS |
WHAFFF | 6 months |

Please let us know if this article was helpful by voting below.